
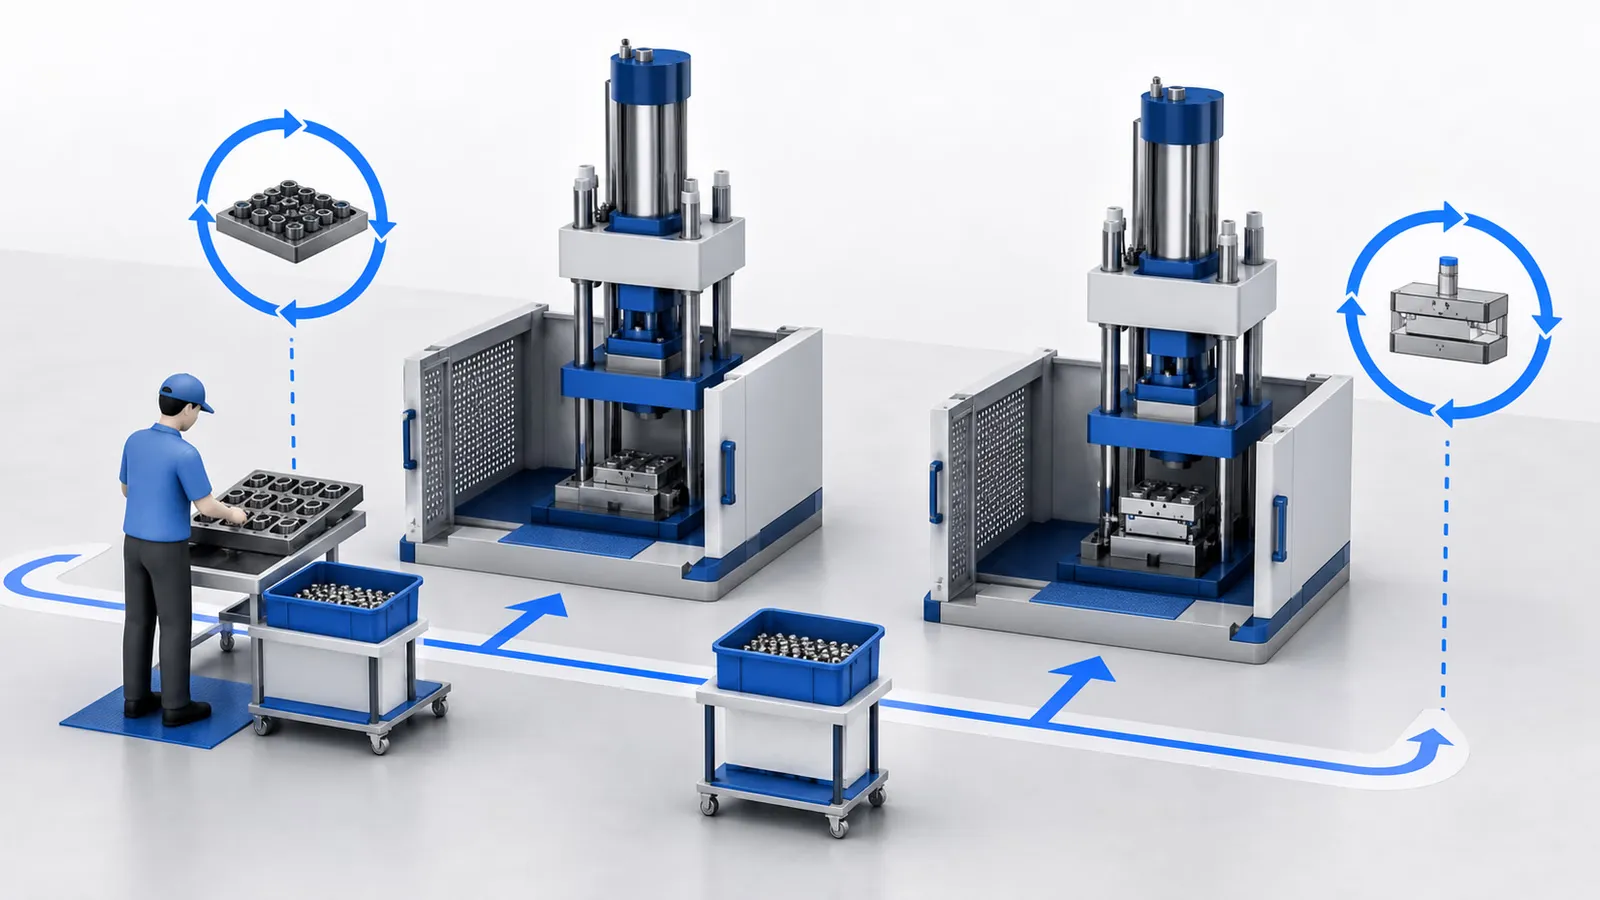
Insert Shift or Exposed Insert After Molding: Troubleshooting Path
Diagnose insert shift, exposed inserts, and poor encapsulation by checking fixture support, insert seating, mold access, flow direction, and loading repeatability.
2026-07-12 - 8 min diagnostic read - Category: Molding Defects
Insert shift means the insert moved, tilted, lifted, or became exposed during mold close, injection, curing, cooling, or removal. The issue is usually not solved by settings alone because the insert support, loading access, mold shutoff, and flow direction all matter.
Quick Answer
Review insert shift from the insert outward: part geometry, insert tolerance, fixture support, operator loading access, mold close behavior, material flow direction, and table repeatability. A moved insert is often a mechanical positioning problem before it is a process setting problem.
What You May See
- The insert is exposed where it should be covered by material.
- The insert appears tilted, rotated, lifted, or off-center after molding.
- Encapsulation changes by cavity, operator side, or table station.
- Shift appears after insert supplier, fixture, mold, or operator workflow changes.
- The part also shows short shot, flash, weld line, or local burn near the insert.
Likely Cause Areas
- Insert tolerance, burrs, oil, deformation, or inconsistent orientation may prevent full seating.
- Fixture support may not resist mold close force, material flow, or operator variation.
- Mold access may make loading difficult, causing small positioning differences.
- Mold shutoff may not hold the insert securely or may allow local flash.
- Material flow direction may push on the insert before the surrounding area supports it.
- Table or fixture repeatability may vary across stations or loading sides.
Safe Checks Before Adjustment
Stop automatic operation if movement, alarm, guarding, or operator safety is uncertain. Do not place hands in the mold, table, injection, or guarded area while movement is possible. Use photos, controller screenshots, cycle logs, and safe observation before changing several settings.
Diagnosis Path
- Photograph the insert before mold close and after demolding for the same station when safe.
- Check whether shift follows insert batch, cavity, fixture, table station, or operator side.
- Inspect inserts for burrs, oil, deformation, thickness variation, and orientation confusion.
- Review fixture support and whether the insert can move under light handling pressure.
- Check mold shutoff and contact surfaces for wear, residue, or incomplete seating.
- Review flow direction and defect location to see whether material pushes the insert.
- Observe loading access and operator reach without placing hands near moving areas.
- If shift repeats at one station, review table positioning and sensor confirmation together with support.
Evidence to Collect
| Check | Why It Matters | Evidence to Collect |
|---|---|---|
| Before-close insert position | Shows whether the issue begins before injection | Safe photos of loaded insert and fixture |
| After-mold position | Shows movement direction and exposed area | Defect photos by cavity and table station |
| Insert condition | Burrs and tolerance variation can prevent seating | Insert batch notes and sample photos |
| Fixture support | Weak support can allow movement during close or fill | Fixture photos and loading notes |
| Flow and shutoff area | Material force and mold contact can expose the insert | Mold area photos and part section notes |
What Not to Change Too Quickly
- Do not try to solve repeated insert shift only through injection settings.
- Do not ignore operator access when the problem changes by loading side.
- Do not bypass safety devices to watch insert movement inside the mold.
- Do not approve production by trimming or manually repositioning parts after molding.
When to Contact Deboge
Contact Deboge when insert shift follows a table station, relates to mold access, or remains after fixture and insert checks. Send insert photos before close, molded defect photos, fixture photos, machine model, material, and a safe loading video if available.
Related Reading
Related Reading
Related Questions
Can insert shift be solved only by changing injection settings?
Usually no. Insert shift often requires checking fixture support, insert seating, mold shutoff, loading repeatability, material flow direction, and machine table or mold access.
Why does the insert shift only on one station?
A station-specific pattern may point to fixture wear, table positioning, sensor confirmation, operator access, or local mold condition.
What should be photographed for insert shift review?
Photograph the insert before mold close, the molded defect, the fixture support, the insert batch condition, and the mold area under safe stopped conditions.
Can material flow push an insert?
Yes. If the insert is not supported well or the flow direction creates unbalanced force, material can move the insert during filling.
Need help with this issue?
Send the machine model, material, mold or insert details, defect photos, alarm screenshots, and recent changes. Deboge can review the information and suggest the next diagnostic step.